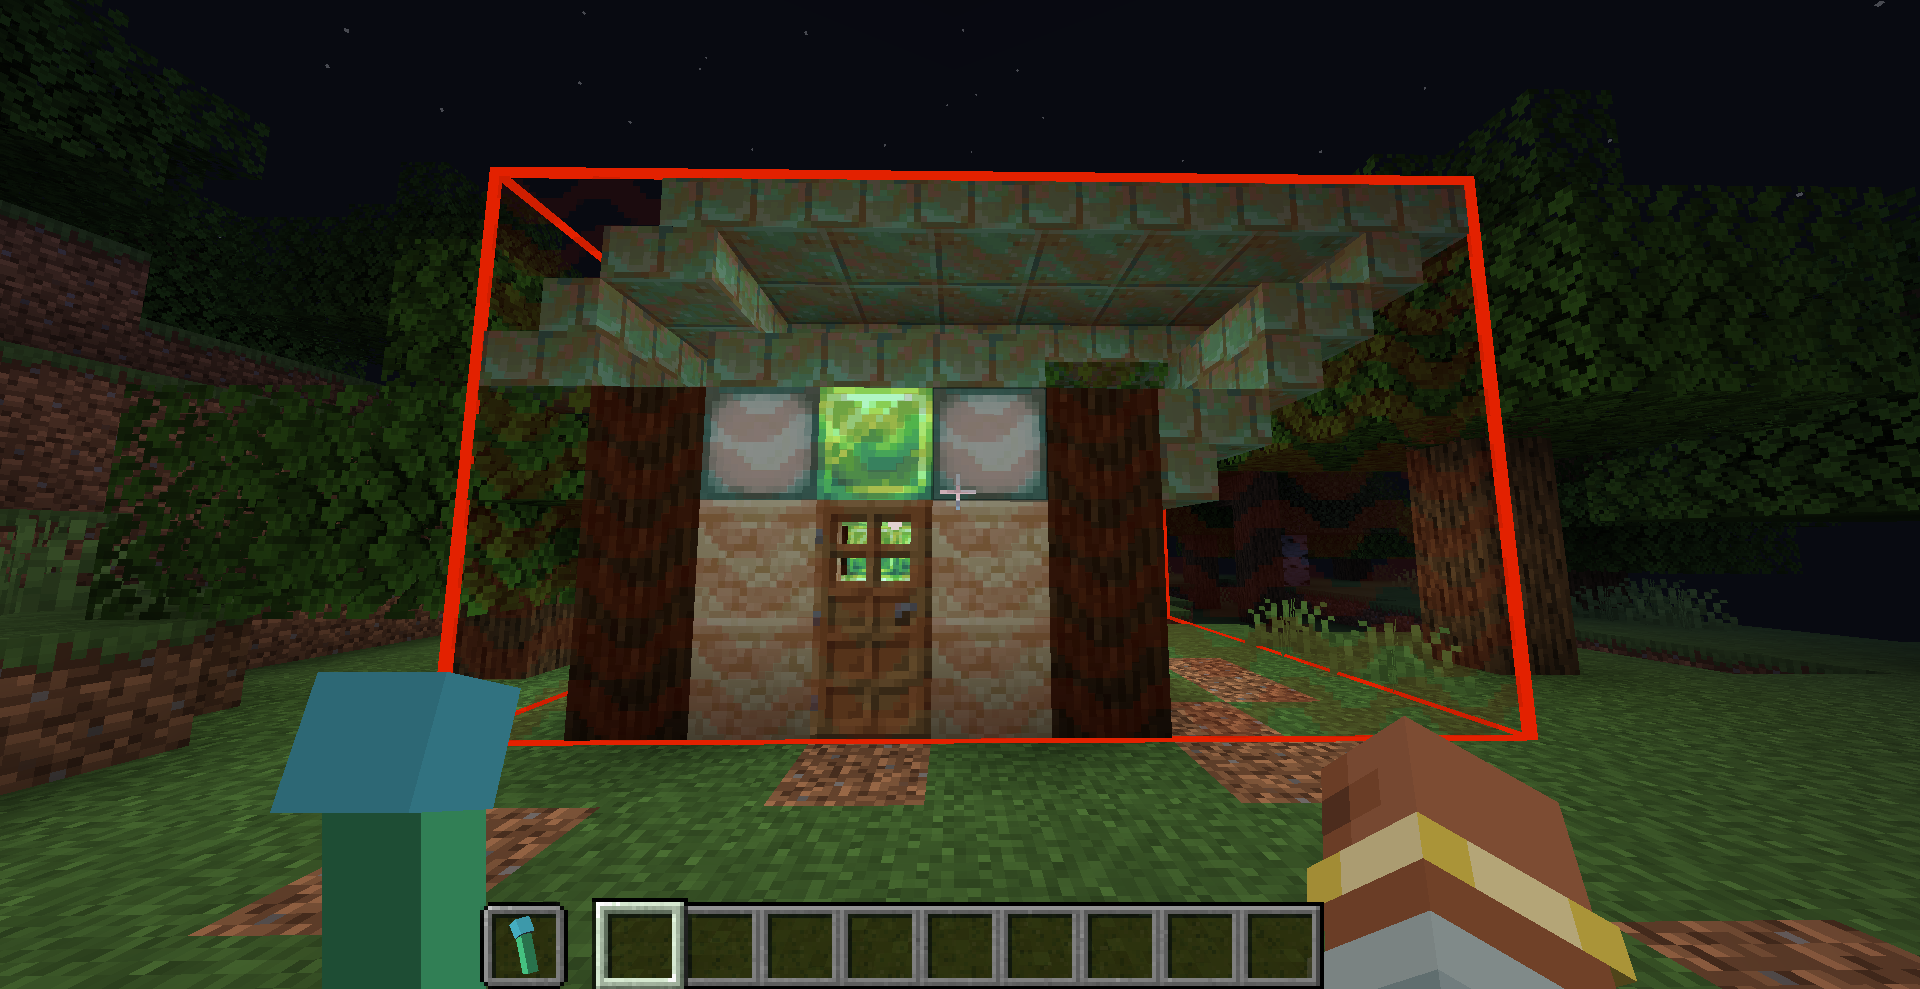
Introducing an innovative tool that enables players to print blueprints directly while in survival mode. This feature is specifically designed for crafting modpacks.
Build Gun: An Addon for Create [Chinese version 中文介绍]
The Build Gun allows users to print blueprints while in survival mode. To get started, right-click to access the menu and choose your desired blueprint. To deselect a blueprint, simply use Shift + right-click. This mod is tailored for modpack creation, and it requires configuration to function correctly. Please note that without proper setup, the menu will show as empty.
Setup Instructions
The configuration file can be found at /BuildGunData/config.json. Upon the initial run of this mod, an empty configuration file will be automatically created. This file is crucial as it determines which blueprints the Build Gun can utilize, and it dictates the categories visible in the menu.
Example Configuration File:
Note: The JSON format does not allow comments, so any comments here are only for clarity. When using this sample configuration, remove all comments indicated by //.
{
  "tabs": [  // Defines two categories
    { "id": "tab1", "name": "Class A" },  // 'id' serves as a unique category identifier; ensure it does not duplicate IDs from other categories. 'name' is how it will be referenced in the menu.
    { "id": "tab2", "name": "Class B" }
  ],
  "schematics": [  // Defines a single blueprint
    {
      "id": "aaa",  // 'id' serves as a unique identifier for this schematic; it should not match any other schematic ID.
      "name": "Schematic 1",  // 'name' displays in the menu for the schematic.
      "file": "s1.nbt",  // 'file' indicates the schematic's path relative to `/schematics`
      "tab": "tab1",  // This associates the schematic with a specific category.
      "config": {  // 'config' contains specific settings for the schematic.
        "stage": 0,  // 'stage' represents the minimum level needed to use this schematic. The mod includes a basic stage system (to be detailed later). The schematic can only be accessed if the current world’s stage meets or exceeds this value.
        "description": "This is a schematic for demonstration purposes with a notably lengthy description.",  // 'description' provides information about the schematic in the menu.
        "cost": [  // 'cost' indicates the materials required to print the schematic. If none are needed, set 'cost' to an empty array [].
          {
            "id": "minecraft:emerald_block",  // 'id' represents the specific item.
            "count": 16  // 'count' indicates the quantity needed.
          },
          {
            "id": "create:cogwheel",
            "count": 256
          }
        ]
      }
    }
  ]
}
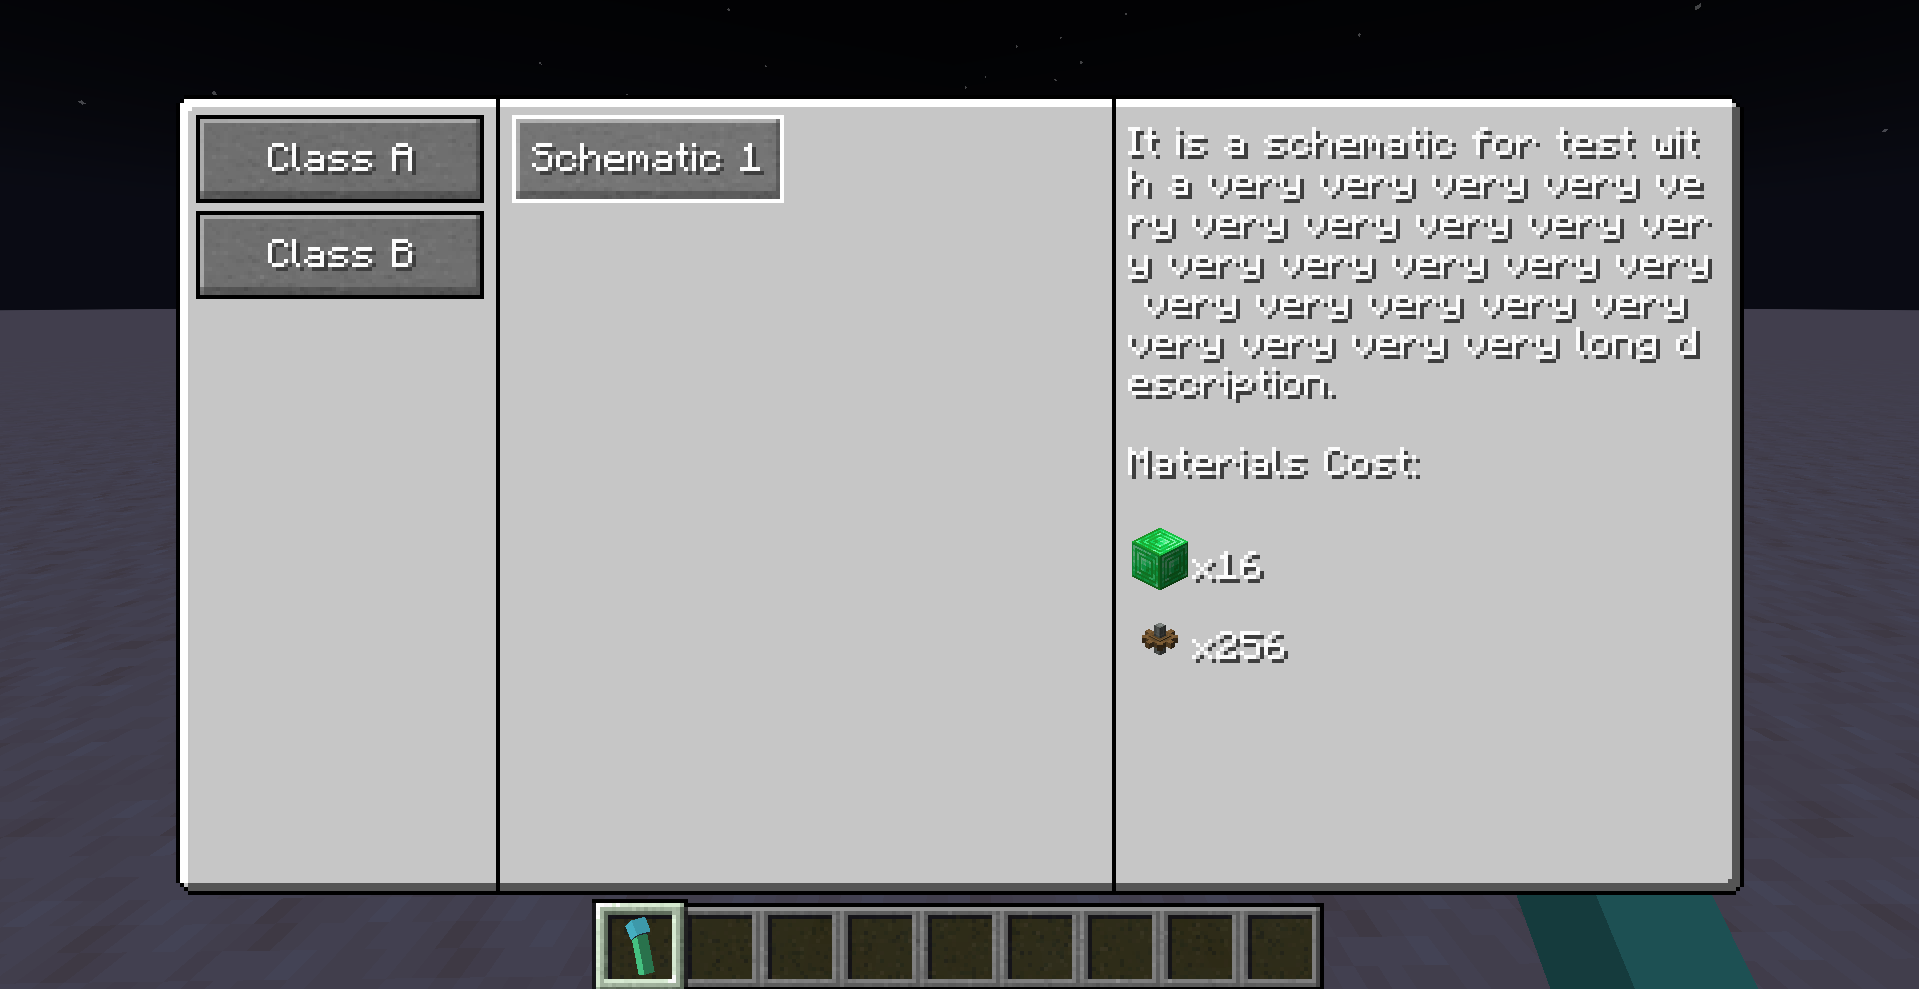
With the provided configuration file, you will achieve the following menu layout:

Continuing the Configuration Process
The previous configuration outlines which schematics are visible in the menu. Next, you must ensure that the relevant schematic files are located in the /schematics directory.
How Does the Create Mod Locate Schematics?
When attempting to access a schematic like s1.nbt, the Create mod will:
- Load the file from
/schematics/s1.nbton the client for preview purposes. - Access the file from
/schematics/uploaded//s1.nbton the server for actual printing. The directory `` corresponds to the player who uploaded the schematic. However, for this Build Gun mod, it consistently references BuildGun. As a result, you need to position the schematic file in both/schematics/and/schematics/uploaded/BuildGun/.
If you are setting up a dedicated server, the schematic file only needs to be placed in the latter directory. However, for those unfamiliar with the difference between Minecraft client and server configurations, placing it in both locations is advisable to prevent potential mishaps.
Once correctly positioned, your directory structure ought to resemble this:
| schematics
| s1.nbt
| uploaded
| BuildGun
|_ s1.nbt
The filename s1.nbt corresponds to the entry -> "file": "s1.nbt" in the earlier example.
If Configuration is Properly Set
When you right-click to access the menu and select the `Schematic 1` option, you will be able to use the Build Gun effectively for your blueprint needs. You can deploy, adjust, and print the desired blueprint.

Additional Guidance
- Changes made to the configuration file will not take effect immediately. Execute the /reload command to refresh the configuration settings.
- If your setup includes both a dedicated server and client, note that /reload only refreshes server-side settings. To update the client-side configuration, use F3+T.
- Check the current world stage using `/buildgun stage get`.
- Set the world stage with `/buildgun stage set`.
- The “stage” system is simply an integer and can be named according to your needs—for instance, 0 for the Stone Age, 1 for the Iron Age, 2 for the Industrial Age, and so on.
- By defining stage prerequisites for schematics in the configuration file, you can limit player access to specific schematics until they reach a designated stage (e.g., using ftb quests, committing quests, setting stage).
- In the configuration file, “name” and “description” can be made translatable. You may designate them as translation keys, for instance, “my.modpack.schematic1.name”. By including the relevant translations in a resource pack, easy internationalization (i18n) is possible.
Concerns About Configuration Discrepancies
You may wonder what occurs if the server and client configurations are not aligned. For instance, if a player alters their client configuration on a dedicated server, could they access blueprints that should be restricted on the server?
The response is no. Even if a player changes their client configuration to show unauthorized schematics, the server will validate the request before executing the print. It checks whether the schematic exists in its configuration, if the required stage is met, and if the necessary materials are on hand. If any conditions are not satisfied, the printing process will not move forward.
Potential Exploit Scenarios
A determined player might find a way to print any schematic they desire:
- Using `__BuildGun__` as their username.
- Uploading a schematic with an identical name through a blueprint table or similar methods, overwriting the server-side schematic located at
/schematics/uploaded/__BuildGun__/. - This could allow them to utilize the Build Gun to print any schematic they previously uploaded.
A straightforward solution to this exploit is to ban players who have the username `__BuildGun__`.
Updates in Version 0.0.3
Now, when holding the Build Gun in your off-hand, you can enter demolition mode, enabling you to remove built blueprints by right-clicking.

You can indicate in the configuration whether a schematic can be removed. The demolition algorithm checks each block in the area against the schematic. If a block matches, it is removed; if not, it remains intact. Subsequently, blocks added manually or blocks that have altered states post-construction are preserved. Details necessary for demolition are generated during the building phase. Therefore, if `”removable”: true` wasn’t specified during construction, modifying the configuration afterward won’t allow for its removal.
It’s important to note that this version does not return materials when buildings are removed, though this feature may be introduced in future updates.
Flaw in Demolition Mode
The current system lacks a distance verification between the player and the structure being demolished, allowing untrustworthy players to forge packets to dismantle buildings from any location.
Changelog for Version 0.0.4
This version fixes a bug that incorrectly positioned the building bounding box when placed using rotation and mirroring.
Changelog for Version 0.0.5
This update resolves issues related to buildings not being removed cleanly or generating unwanted drops upon removal.


